Let’s Build an image pipeline! (part 1)
Imagine a world where the next meltdown level vulnerability is announced and you have to patch your image 5 minutes ago. You calmly run a script to force approve patches in your patch manager and 45 minutes later the base template you deploy from in vSphere is updated and all new machines are based on the new image, all while you drink coffee and play the Block Game. Sounds pretty cool right? It’s definitely better than the old school way of:
- Installing Windows or Linux to a new virtual machine
- Performing your organizations steps to customize it
- Install patches
- Stage the system for customization
- Shut it down
- Mark it as a template
- etc
- etc
While the steps may very slightly depending on the exact platform you are leveraging: Linux, Windows, KVM, Azure. Or maybe you’ve scripted some of the steps. No matter where your process stands, at the end of the day this activity is a huge time suck, a huge potential for mistakes, and in no way contributes to a cloud way of working, which results in your platform looking like a pretty poor option to those desiring to do “cloud first.” Not only that, how can you prove to yourself or auditors that a given image is properly built according to defined standards and controls?
There are potentially many tools out there to help automate the image build process, and like many things in life; some are better than others. I’m about to walk you through the recipe I settled on and I think is best. Your mileage may vary.
This is the second post of a planned 4 part series:
- Let’s Build an image pipeline! (part 1) – Setting up the Jenkins CICD pipeline
- Let’s Build an image pipeline! (part 1.5) – Jenkins needs some credentials!
- Let’s Build an image pipeline! (part 2) – Customizing the code to your environment
- Let’s Build an image pipeline! (part 3) – How does packer work?
- Let’s Build an image pipeline! (part 4) – How do I do some other cool stuff with packer?
Before we talk about the actual process, let’s review the tools we’ll be using. In general this article will only cover enough detail for you to set everything up. Potentially in the future I may dive deeper into each tool. I do also need to significantly dive into how to script a packer image build, but in the mean time – please feel free to fork my working example. I will cover in part two the exact modifications to my code you will need to make in order to make it perfect for your environment.
packer – Part of Hashicorp’s suite of tools, packer allows you to take an install ISO, a json file, and a bunch of scripts and feed them into a virtualization engine – a builder in packer parlance – and get out a predicable built virtual machine image. Every. Single. Time.
VMware Workstation – An oldy but a goody. There are a lot of options out there in what you can use for a builder: EC2, Azure, VMware Workstation, Openstack, Virtualbox, etc. I selected Workstation because I’m familiar with it and I’m a fanboy.
Jenkins – Jenkins is an automation engine that we will use to monitor GitHub for code changes and/or events, say 5:00 pm on patch Tuesday and build our image when those events occur.
GitHub – Our source control repository to store our code. Like the packer builders, many options are out there.
Nexus – Our repository for storing ISOs and packaged versions of our image for archival. Nexus will not get a lot of attention in this walk-through. Using the code in this walk-through – any web service capable of accepting large uploads will work just. Otherwise adapt the code for what works for you.
Ansible – The majority of our heavy lifting of configuration is done by ansible, in what packer calls a provisioner.
Words out of the way, let’s get started.
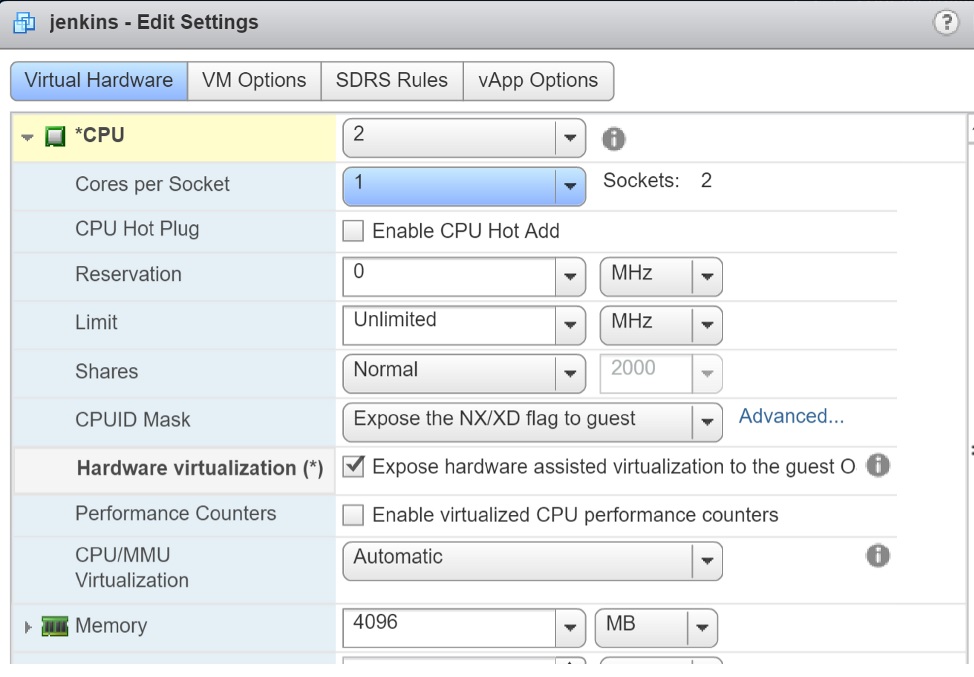
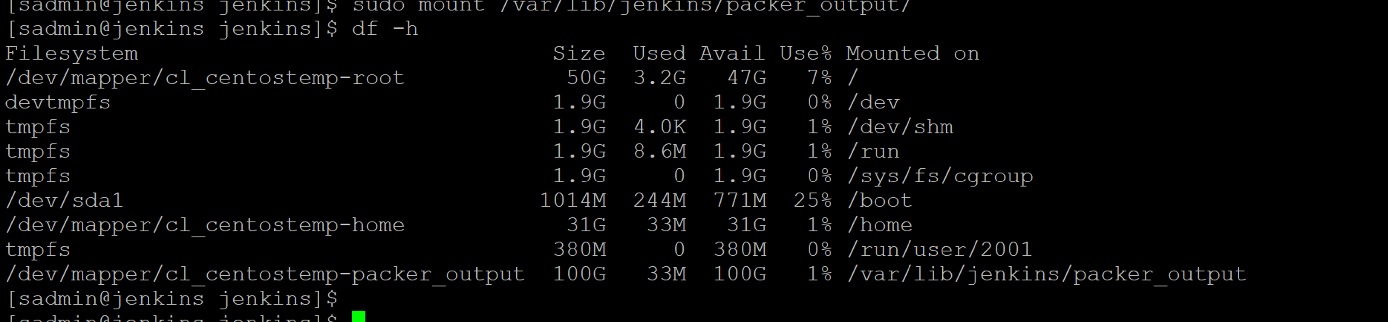
First, build a Linux system of the distribution of your choice, this example is on CentOS 7.4. Windows is technically feasible, but you lose the ability to use the local ansible provisioner in packer. Make sure to give it an adequate partition to serve as a output directory for packer and enable nested virtualization.
After building the system, we need to install a couple packages on the system:
- Powershell Core
- VMware Power CLI 10+
- Jenkins
- Be sure to install Blue Ocean and the git plugins
- Ansible
- This one is easy: sudo yum install ansible
Next we will download the packer binary and drop it in /usr/bin, for ease of versioning, I suggest naming the filer packer.

After the easy step of downloading packer, we’ll take on the slightly more complicated step of installing virtual workstation. A major step that tripped me up with a fix that was not immediately obvious was the fact that there are a few kernel drivers that Workstation requires, which are built at install, or post install. This means you need to install some packages for kernel development:
sudo yum groupinstall “Development tools”
sudo yum install kernel-headers
sudo yum install kernel-devel (not entirely sure this is required
Once the development packages are installed – download and trigger the workstation install
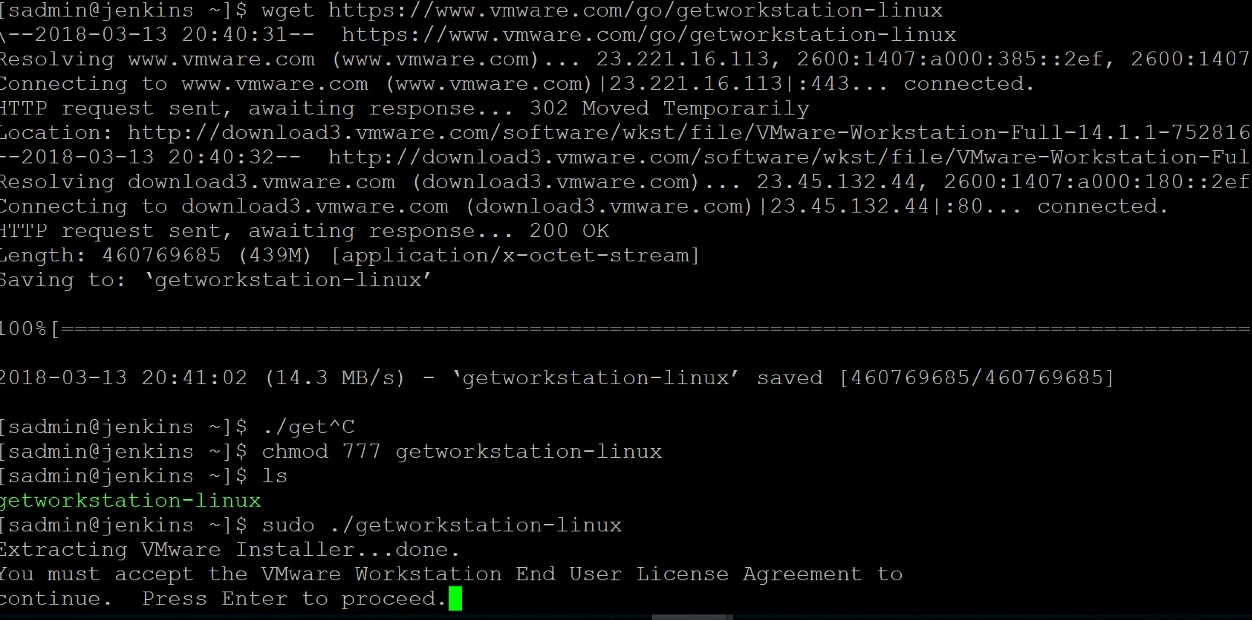
The install itself is pretty straight forward, accept the EULA, enter a product key if you have one, etc.
Once workstation is installed – clone a working packer build and test if it works. Feel free to break the build once packer reports that it is waiting for the machine to boot, at this point we are only verifying that Workstation is working. I have created a tag in my repo named BlogSample1 that you can reference as a working, but easy to customize reference.
git clone https://github.com/sentania/enterpriseLinux_imagebuild.git
git checkout BlogSample1
packer build -var-file=build_version-7.4.json -only=CentOS enterprise_linux.json
If you encounter any errors related to VMware workstation modules, etc – you can run to verify that all the network modules are built properly.
vmware-modconfig –console –install-all
At this point, we have verified that VMware Workstation is installed and that packer can kick off a build. Before we go any further we are going to open up some firewall rules. One allows VMnet8 (the network range below may be different for you) to be trusted, allowing packer to talk to virtual machines, and to allow virtual machines to talk out. The other allows you to access virtual machines via VNC for diagnostics.
sudo firewall-cmd –zone=trusted –add-source=192.168.2.0/24 –permanent
sudo firewall-cmd –zone=public –permanent –add-port=5900-6000/tcp
sudo firewall-cmd –reload
With VMware Workstation installed and we have verified that packer can kick off a build, let’s connect Jenkins to GitHub. In this example I utilize GitHub.com, but you can easily adapt it to GitLab, GitHubEnterprise, etc.
Assuming you have not created any other previous pipelines, when you login to Jenkins, you’ll see a screen like this:
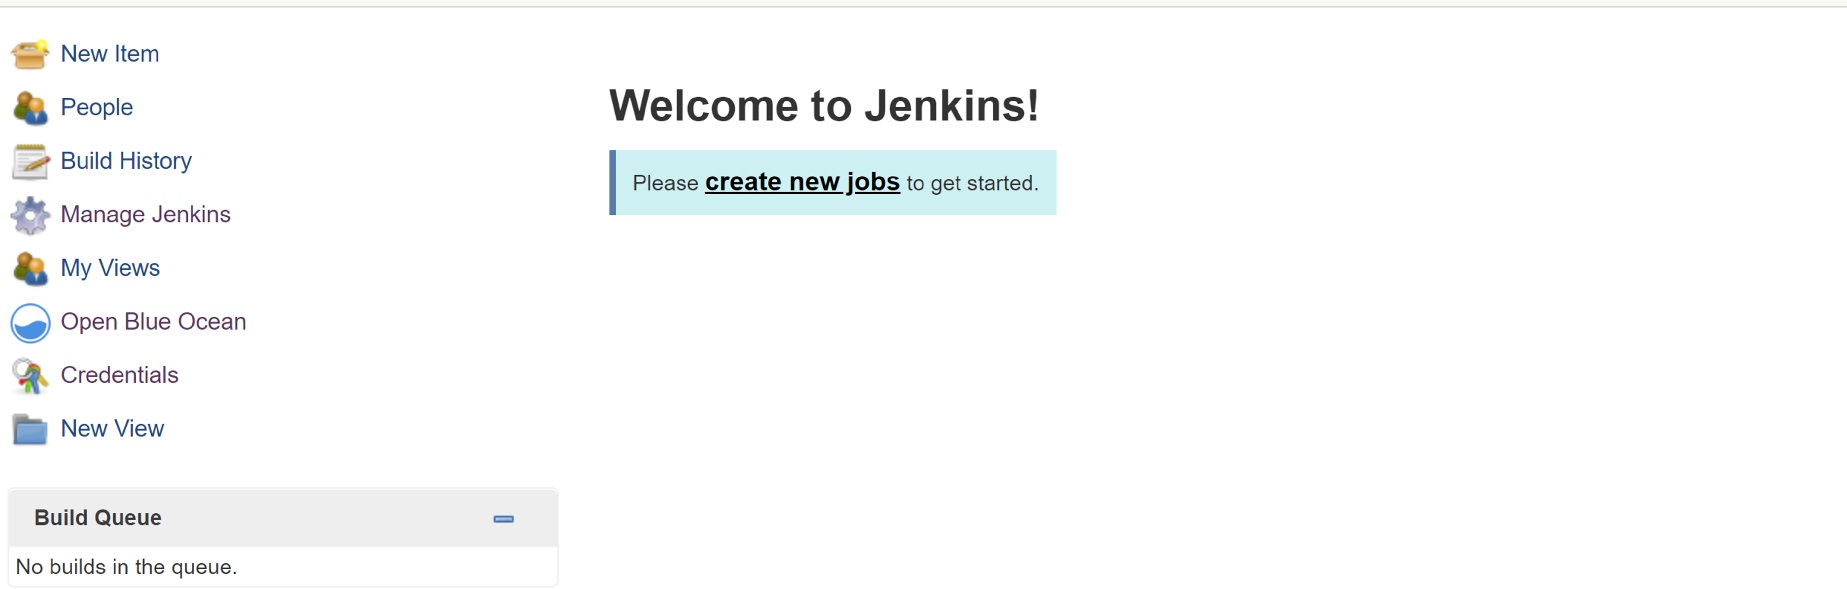
Give Open Blue Ocean a click and Jenkins will fire up a wizard walking you through creating a pipeline:

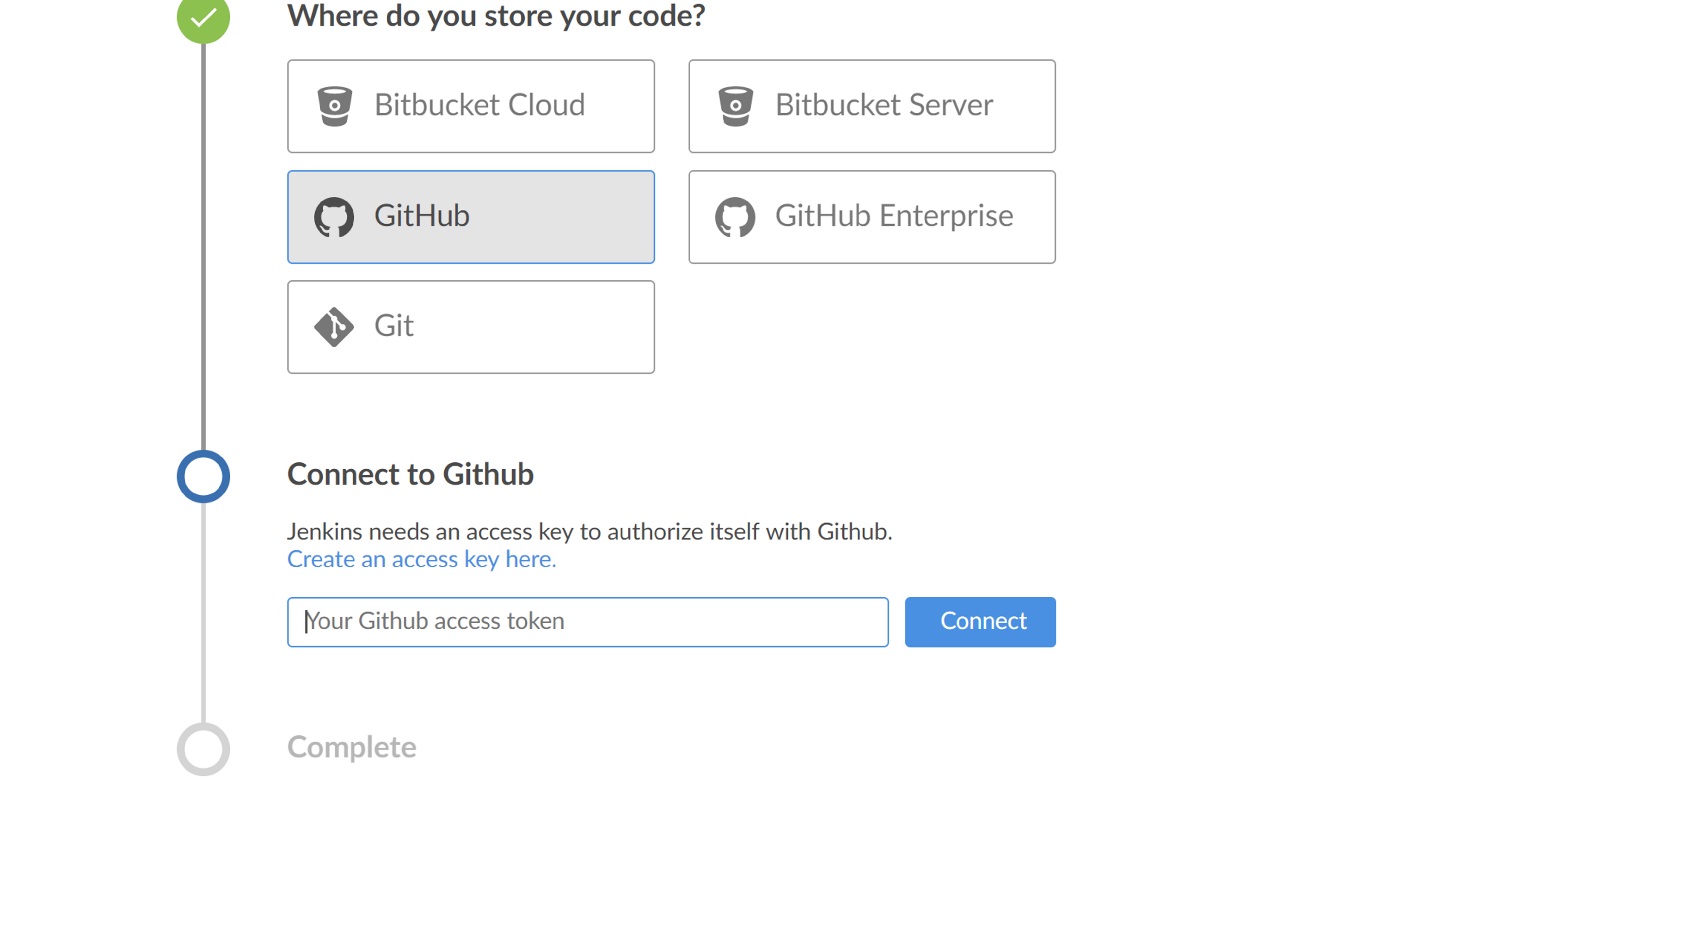
Follow the wizard, selecting GitHub, where you can click the link to generate an access key.
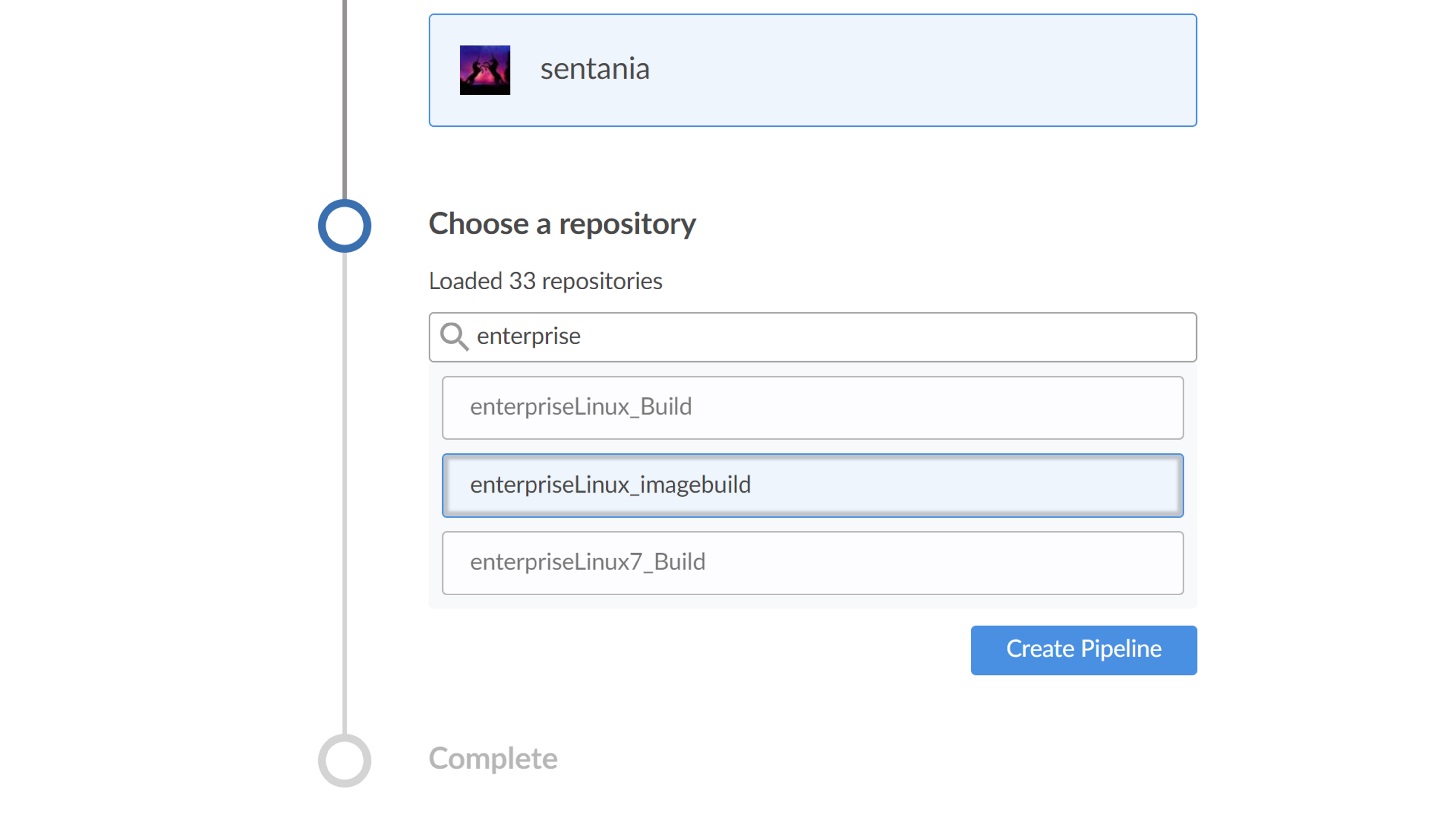
Now that Jenkins and GitHub are talking, the wizard will prompt you to select the repository to build from:
Jenkins will load the repo and start the first build of the pipeline
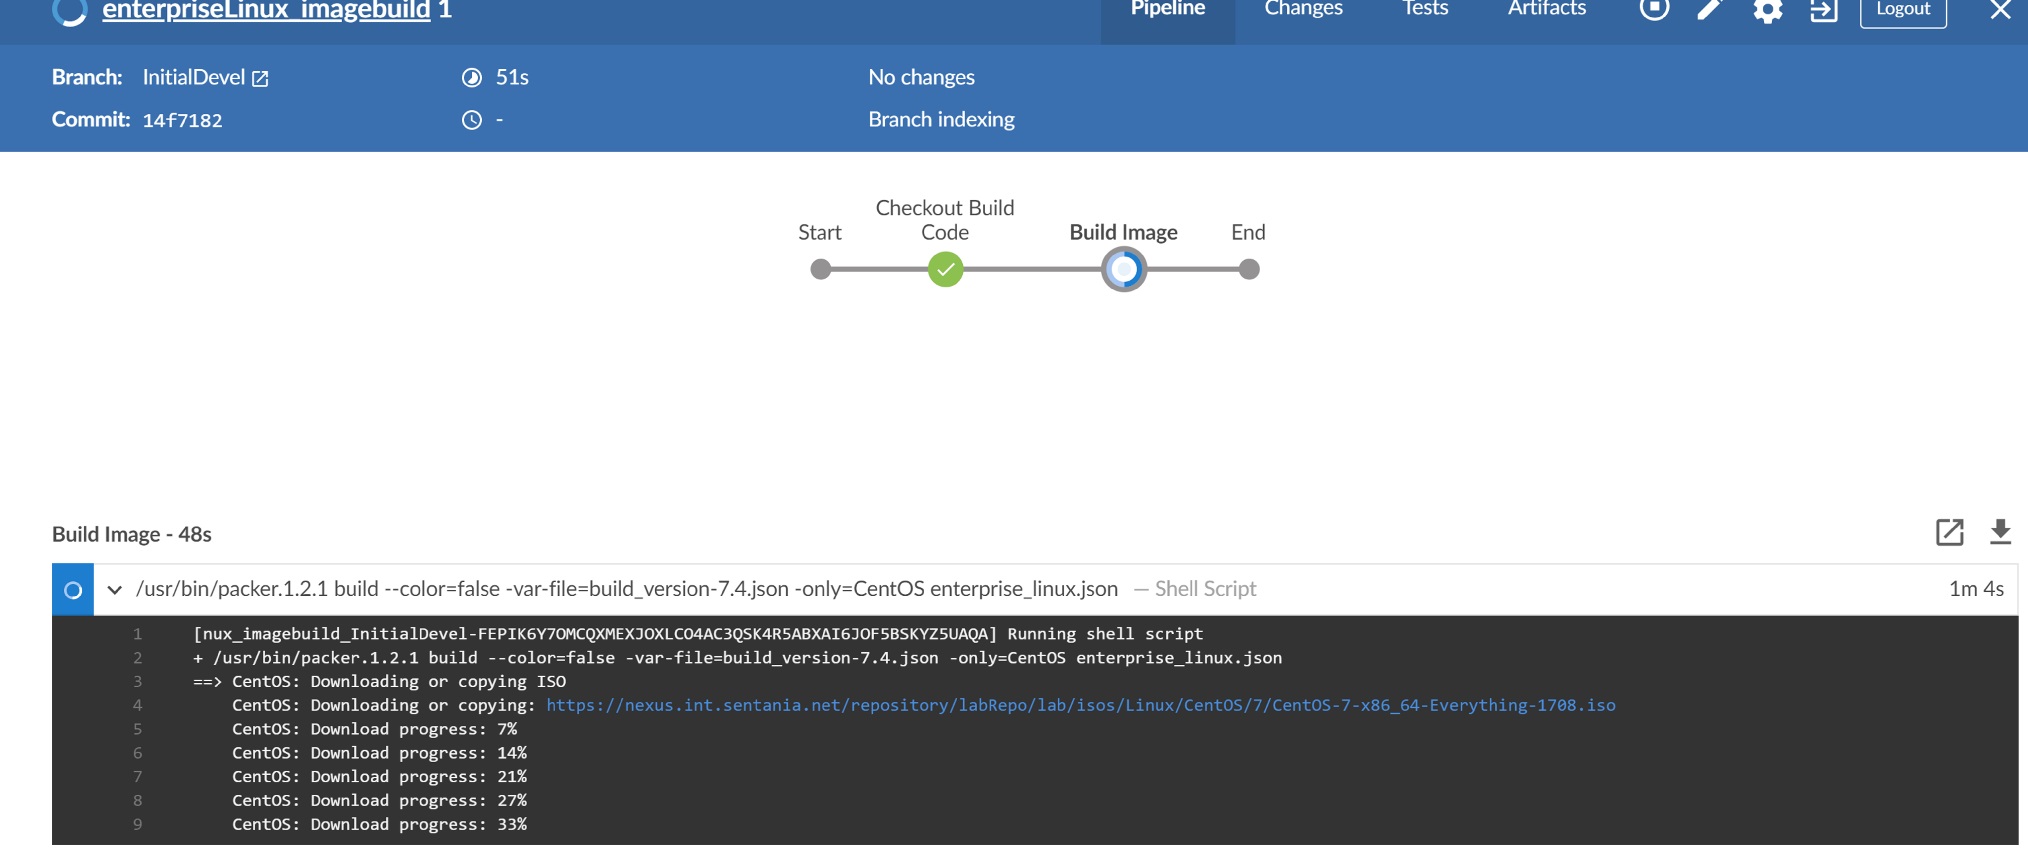
Since we have not talked through the changes required make packer build successfully, this first build should fail pretty fast.
The last step we will complete as part of this post is to configure Jenkins to periodically poll GitHub for changes. It is possible to have GitHub perform a web-hook and trigger Jenkins, but for now we will configure it with a periodic scan. To do this go into the Jenkins project and click configure
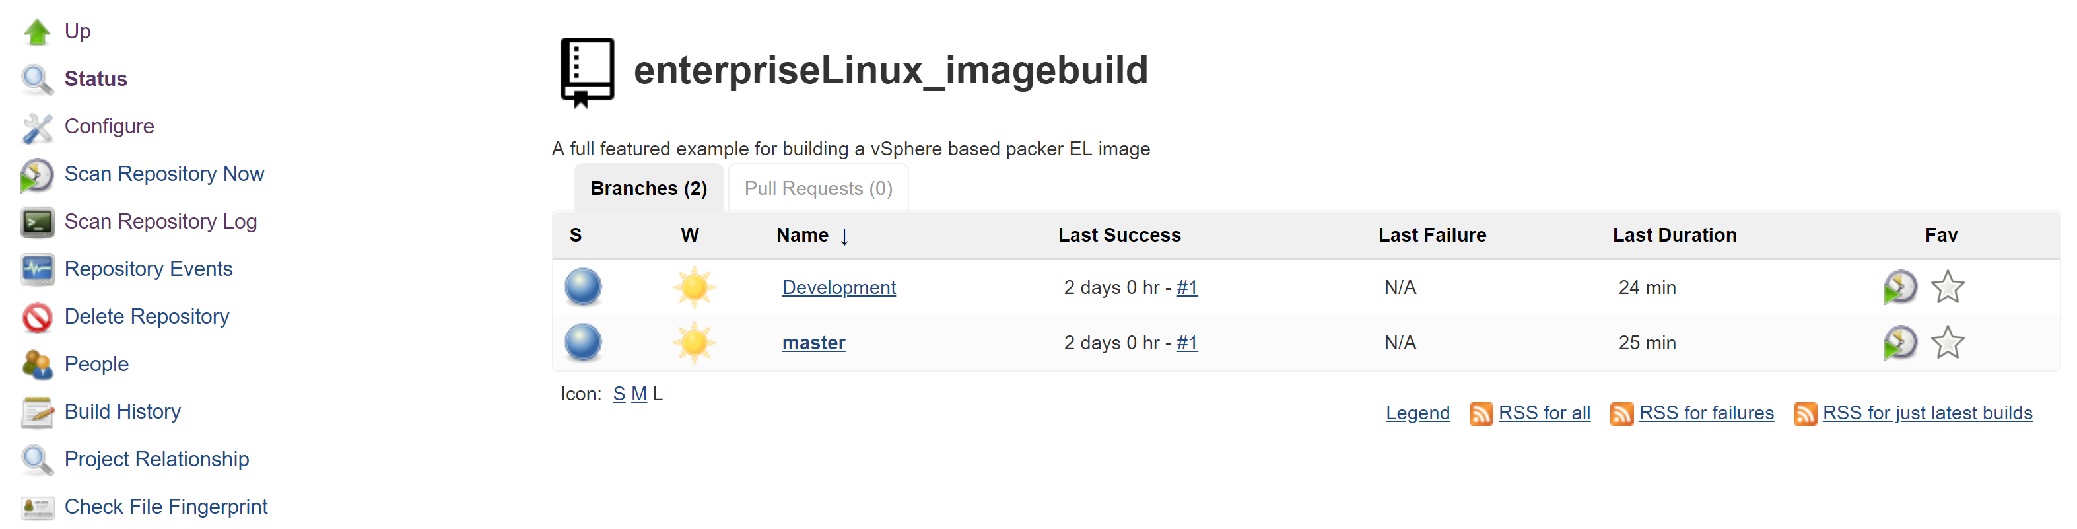
Locate the Scan Repository Triggers section, check the box and set it to a time frame that suits your purposes.

That’s it! You have created a functioning Jenkins pipeline that will poll GitHub for changes and attempt to build an image. Let’s do a quick recap before I tell you to wait for part 2, today we:
- Built a Linux Server
- Installed Jenkins, Powershell (on Linux!), VMware PowerCLI, VMware Workstation, and Packer
- Verified that VMware Workstation is functioning
- Configured Jenkins to scan GitHub for changes on a regular basis, and to trigger a build when commits are made
In part 2 we will dive deeper into the actual project identifying where you need to make changes for your environment, and how the magic is actually happening.
Thanks for reading.