Let’s Build an image pipeline! (part 1.5)
As I was working on part two of this planned four part series about packer, I realized I forgot a crucial step in setting up Jenkins! Due to part of our pipeline including deployment to an artifact repository and a vSphere environment, we need to create some credentials within Jenkins. I have also created a friendly link to all parts of this walk through. I will retroactively edit the links as the posts are written.
- Let’s Build an image pipeline! (part 1) – Setting up the Jenkins CICD pipeline
- Let’s Build an image pipeline! (part 1.5) – Jenkins needs some credentials!
- Let’s Build an image pipeline! (part 2) – Customizing the code to your environment
- Let’s Build an image pipeline! (part 3) – How does packer work?
- Let’s Build an image pipeline! (part 4) – How do I do some other cool stuff with packer?
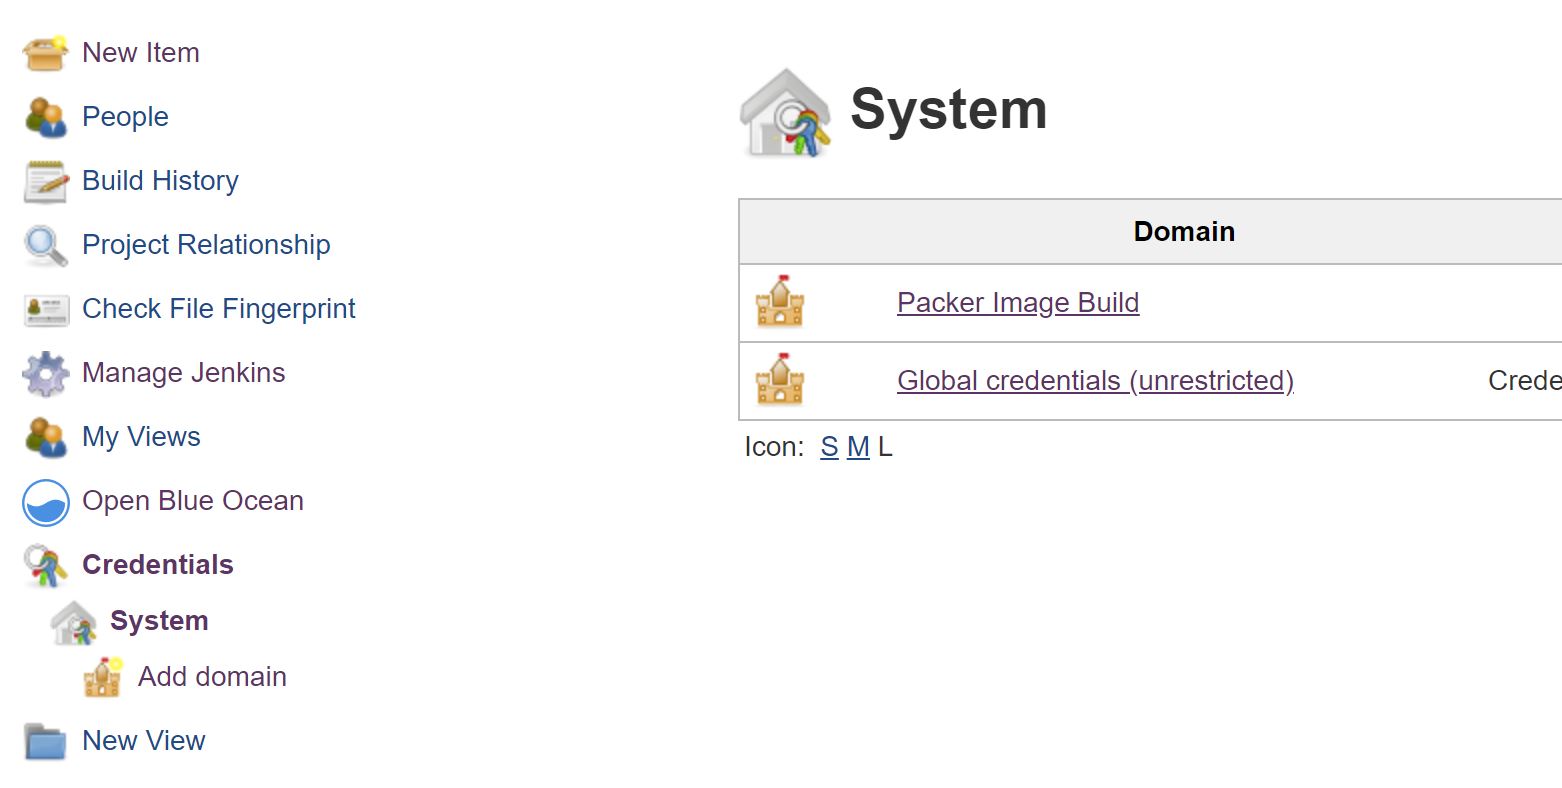
Adding credentials to Jenkins is relatively quick, but be aware while the way I have done it is functional, I can’t promise you it’s the “right” way to do it. After logging into Jenkins, click Credentials->System->Add Domain.
The next screen is simple, just name the domain something – as you can see in my screenshot, I named it Packer Image Build. After creating the credentials domain, again click on Credentials->System->Packer Image Build.
You’ll need to create two credentials:
- One for nexus (or your artifact repository)
- One for vSphere
Technically they can be the same username, but my reference code utilizes two Jenkins credentials. One with the username in Active Directory UPN format and the other in NetBIOS format. Be sure to put a note in the description to help you keep them straight. You can enter a value for the ID field if you desire. If you leave it blank, Jenkins will generate a UUID for it.
Once your credentials are created you should have something resembling this. You can ignore the ssh credentials that appear in the screenshot.
That’s it, time for part two.


