Day Two Automation Self Service Framework – Part 2
Last time we laid out the general approach of our automation framework. Today we will be completing some of the per-requisite technical tasks to enable vROPS to apply a layer of governance and detection to our framework.
The other posts in this series can be found below:
- Day Two Automation Self Service Framework – Part 1
- Day Two Automation Self Service Framework – Part 2 (this post)
- Day Two Automation Self Service Framework – Part 3
Overview
- Create the needed vSphere tag and tag category
- Install the vRO Management Pack and configure the vROPS and VRO interaction.
- Connect vRO to the target vCenters.
Create the needed vSphere tag and tag category
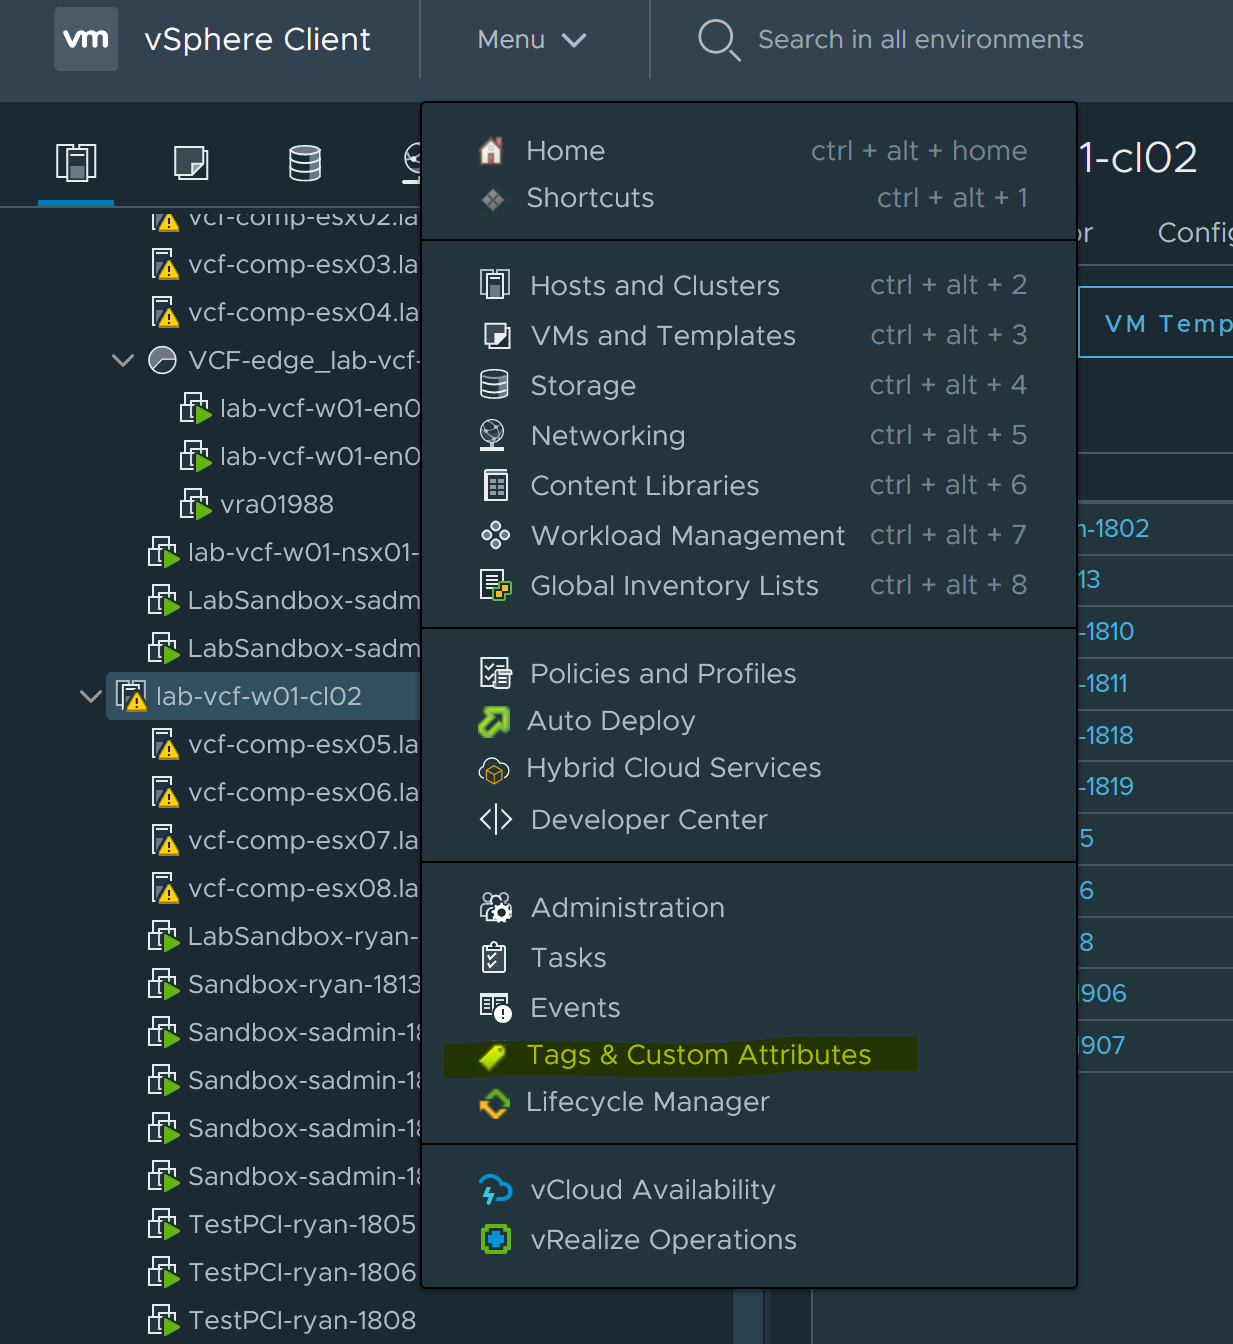
We will be using vSphere tags to inform vROPS of which machine our snapshot exception policy should apply to. Creating a vSphere tag is very straight forward. After logging into vCenter, navigate to the Menu->Tags & Custom Attributes section
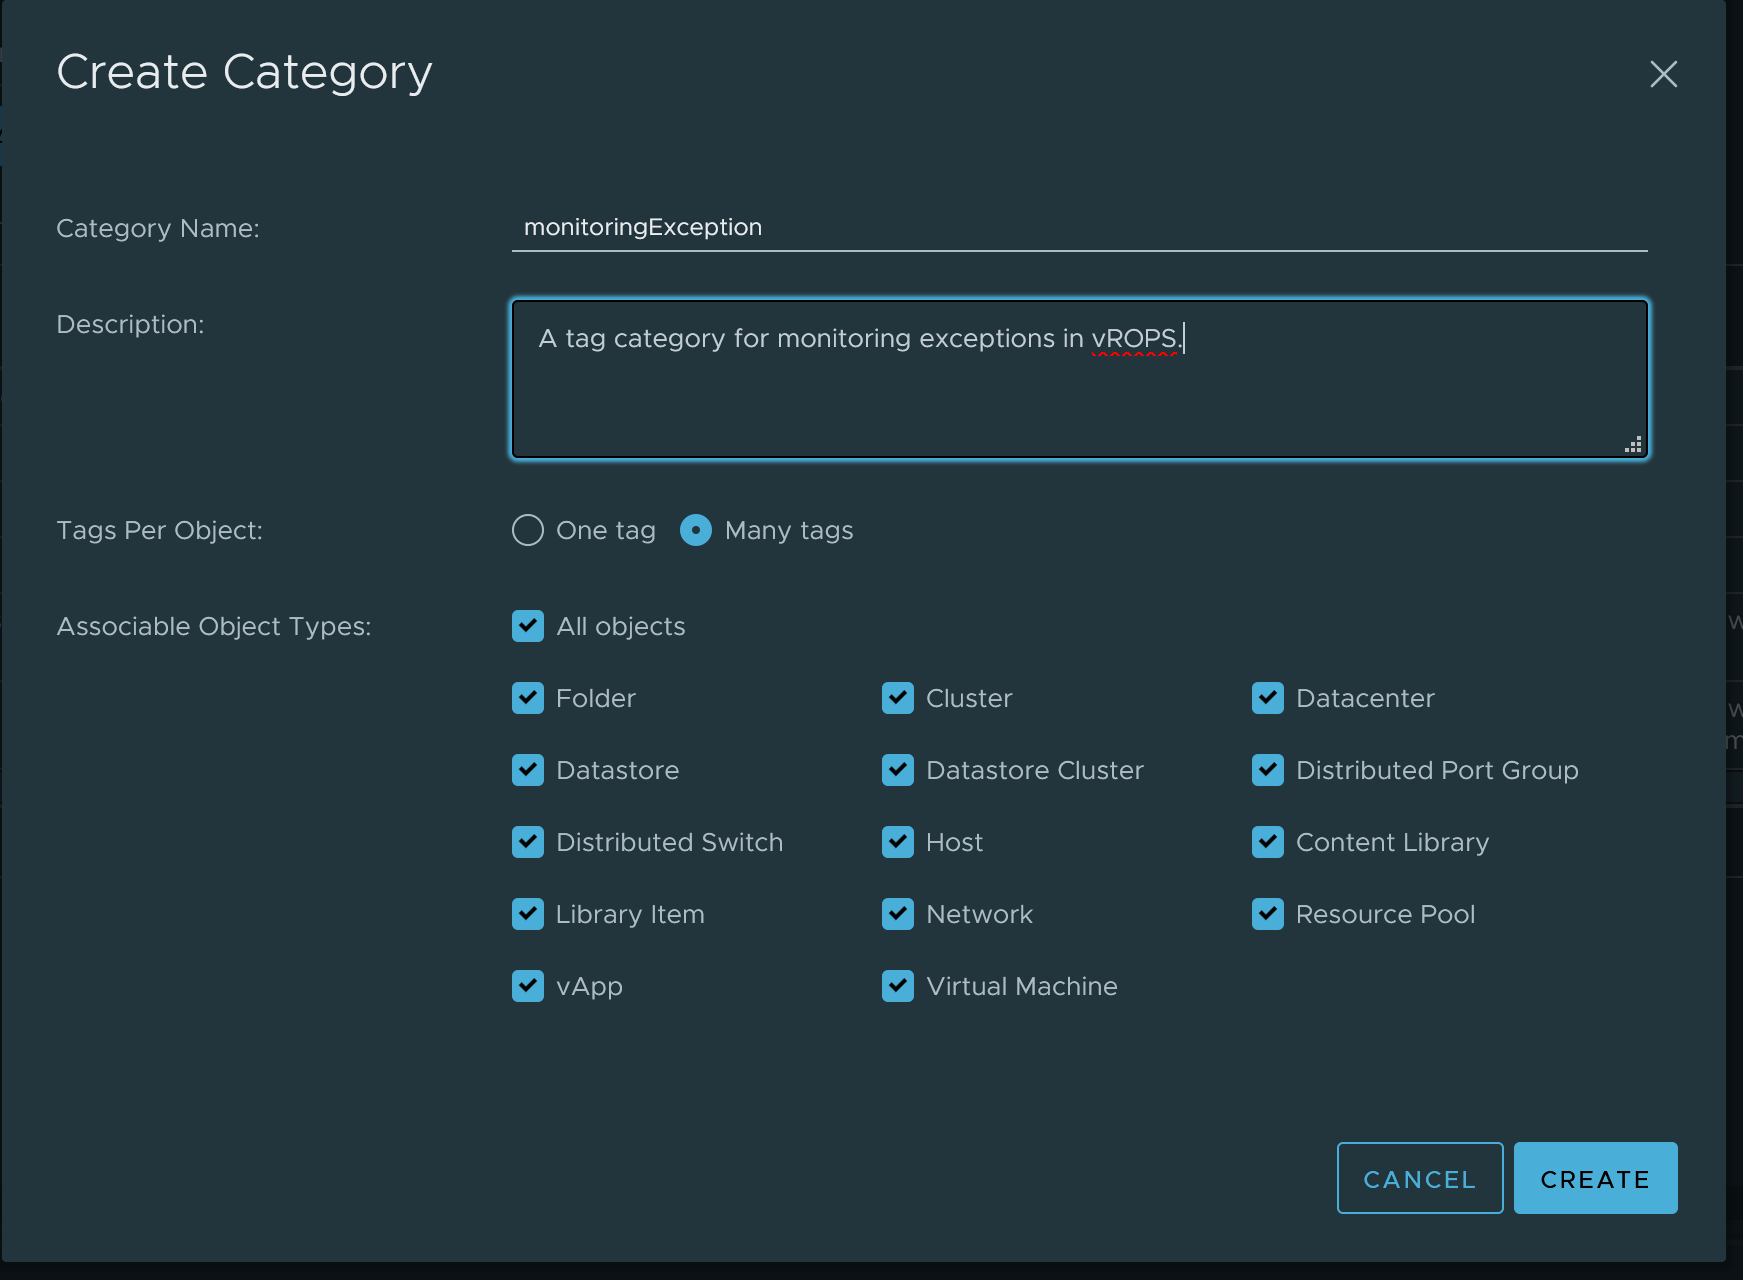
We will be creating a new tag category named monitoringException. Be sure to allow multiple cardinality, which allow a given object to have multiple monitoring exceptions. I also suggest selecting all object types, as it allows for the most flexibility down the road.
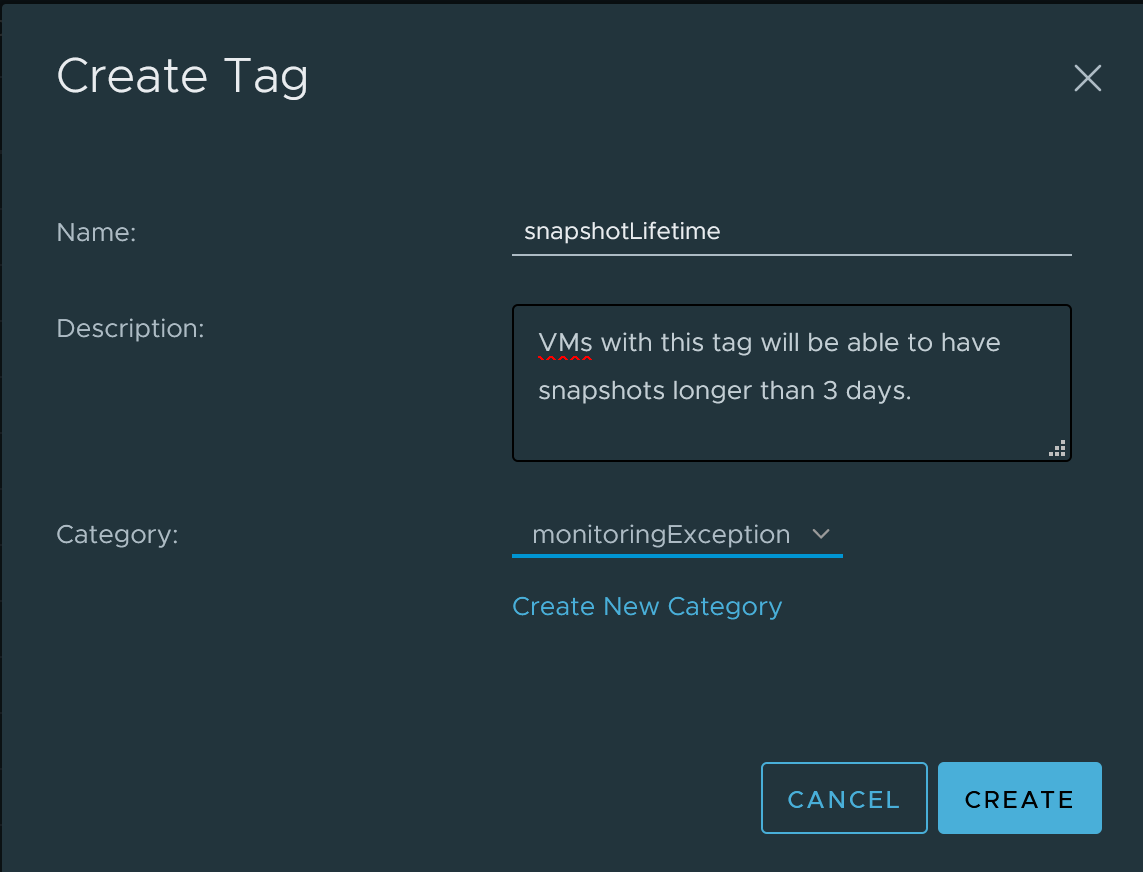
Next create our tag, which we will name snapShotLifetime, and we will assign it to the category we just created.
Install the vROPs Management Pack and configure the connection to vRO
The install of the vROPS management pack for vRO is fairly straight forward. First you will need to download it from the VMware Solution Marketplace. After you download it you can follow my hack instructions below, or follow the official documentation.
- After logging into vROPS as an admin, navigate to: Administration->Repository->Add/Upgrade
- Select the pak file you downloaded , click Upload, and then walk through the remainder of the installer.

- Configure the Account for vROPS to interact with vRO by navigating to: Administration->Other Accounts->Add Account.
- Select vRealize Orchestrator as the account type. Fill in the prompt with the appropriate details for your environment.
- Click Validate. If validation is successful, click Add.

- Now have to download content from vRO to vROPS. This let’s us set up workflows from vRO as actions in vROPS.
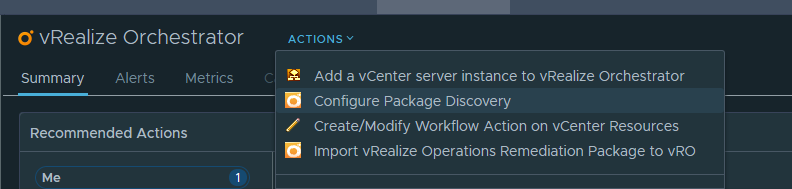
- Navigate to Environment-> vRealize Orchestrator->
- Select Actions->Configure Package Discovery
- Once the task finishes, you will see a package list in the vRO inventory
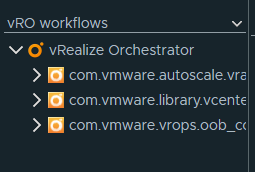
- Navigate to Environment-> vRealize Orchestrator->
- The last content related step is to import vROPS workflows into vRO. This will add some workflows and actions to vRO to enable a variety of automated actions.
- Return to the Actions menu, and select Import vRealize Operations Remediation Package to vRO.
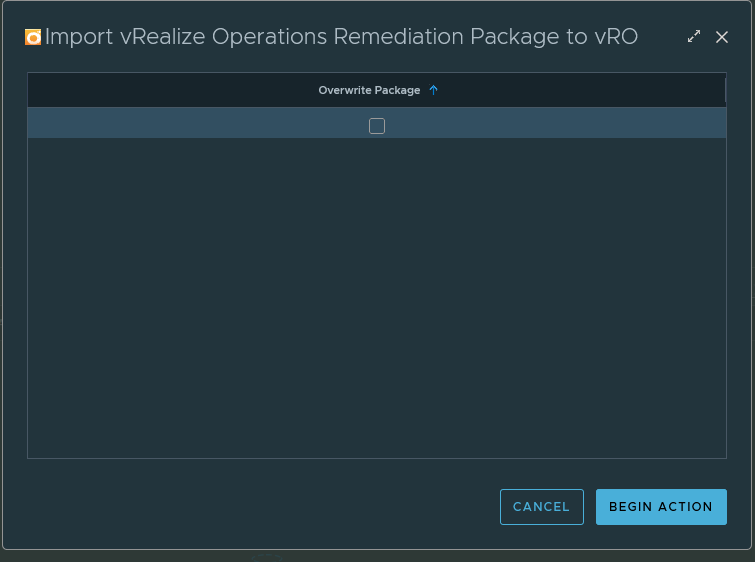
- Return to the Actions menu, and select Import vRealize Operations Remediation Package to vRO.
Configure the vRO connection to the target vCenters
There are two ways you can configure, vRO to connect to vCenter, adding a vCenter endpoint in vRO parlance: via the vROPS interface or more traditionally through the vRO interace. We will go over the path of using vROPS to do this today.
- Navigate to same menu in vROPS in in the previous section: Environment-> vRealize Orchestrator->
- Select the option: Add a vCenter server instance to vRealize Orchestrator
- Fill in the details for the vCenter you want to connect to, repeating the process for each vCenter.

- Fill in the details for the vCenter you want to connect to, repeating the process for each vCenter.
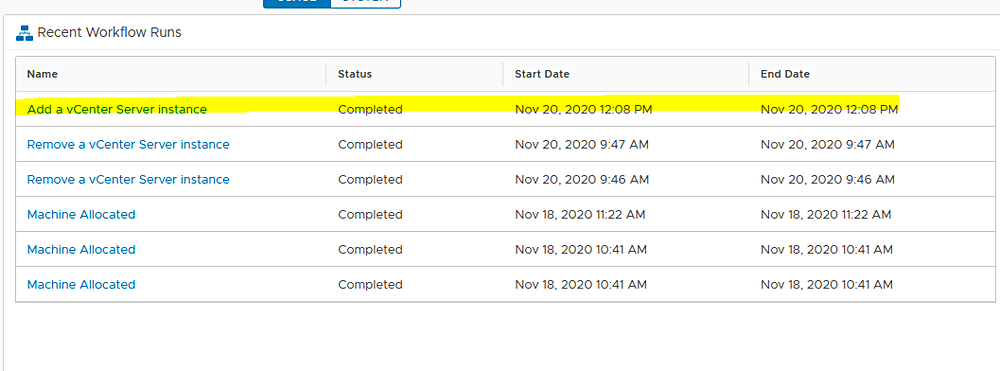
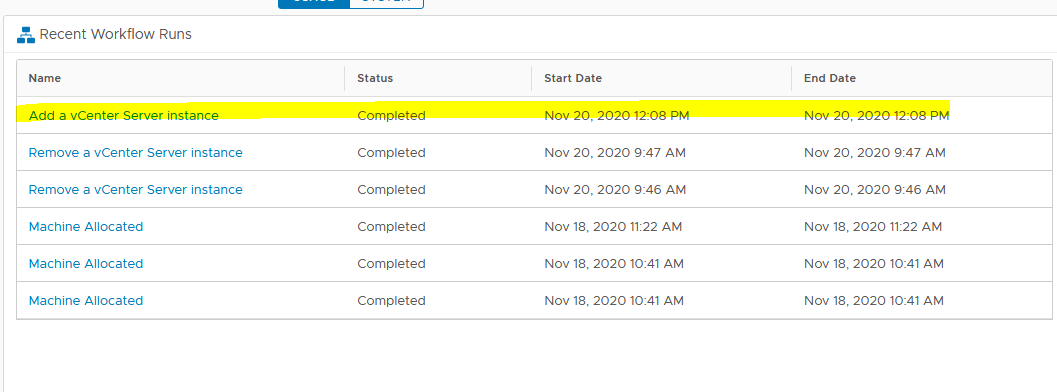
- Validate that the connection has been established by looking at the recently completed workflows in vRO.

That’s it for today. We have now established the connection between vRO and VROPS, which enables vROPS to trigger a vRO workflow when an alert is triggered with an automated action enabled for it, and we have also connected vRO to vCenter.
In the next post we will look at the vRO workflows involved in this process.